Press "Press here to move on".
Level 2:
Press the Yellow circle.
Level 3:
Press anywhere outside the yellow circle on the screen.
Level 4:
Wait for a while.
Level 5:
Press the blue circle at the top left corner until a green circle is seen. Press the green circle.
Level 6:
Pull the circle to the bottom of the screen. You will see a textbox. Press the textbox and enter "darkness". Now move the circle towards right and you will see an "ok" button. Press it.
Level 7:
Press Win, Press the arrow key (repeat 5 times).
Level 8:
Press the blue button.
Level 9:
Press the circles from 1 to 8 according to the picture.

Level 10:
Drag the letters and arrange them in the boxes provided. The word is "AMATEUR".
Level 11:
Keep moving through the yellow line till you reach a green button. Press the green button.
Level 12:
Press the circles from 1 to 7 according to the picture.

Level 13:
Press the red circle 16 times. Press the red arrow.
Level 14:
Press the "4" in "Level 14".
Level 15:
Password is "eqths".
Level 16:
Go back to main menu. Press "Select Level". Select level 15.
Level 17:
There is something like a cover at the bottom left corner of the screen. Drag the cover away and you will find a hammer. Drag the hammer to the top of the spoon. Click on the green circle.
Level 18:
Password is "loser".
Level 19:
Enter "58008". Press "OK/C".
Level 20:
Click on the blue triangles. Don't forget to count them. Enter the number of blue triangles you clicked.
Level 21:
Tap the top left corner of the screen until the slot machine is cracked. Then adjust it so that it looks like this:
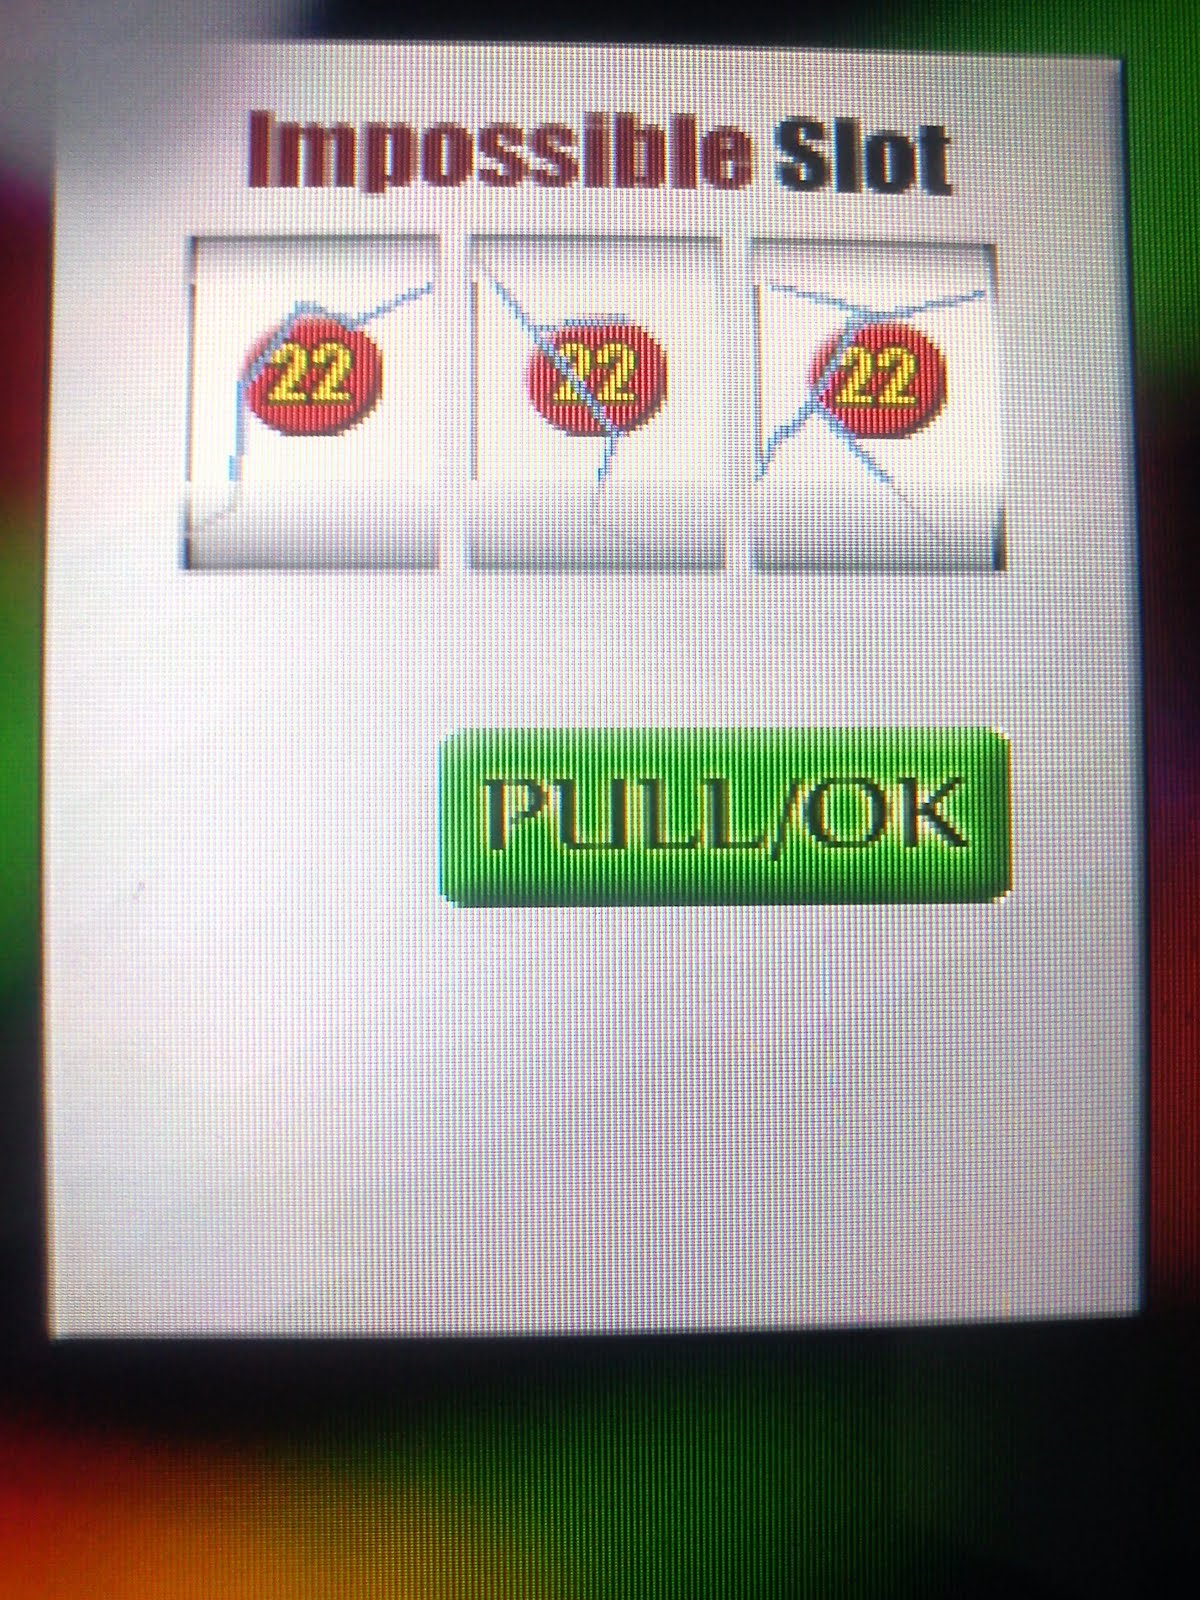
Level 22:
Press the ball when it falls.
Level 23:
Keep pressing the arrow until the silhouettes are shown. Press the Android silhouette.
Level 24:
Google search for "fat kid sat on his cats tail".
Level 25:
You must find the order in which the circles has to be pressed by trial and error.
Level 26:
Go to main menu and press "Resume".
Level 27:
Press the yellow button. Type "MONKEY" by pressing the letters shown on screen. Do this as fast as possible.
Level 28:
Rub the bear till it is happy.
Level 29:
Press the circles from 1 to 8 according to the picture.
Level 30:
In part 1 and 2, the nails on the red line should be drove in.
In part 3, draw 30. Nail the X's,
0 0 0 0 0 0 0 0
0 X X 0 0 X X 0
X 0 0 X X 0 0 X
0 0 X 0 X 0 0 X
X 0 0 X X 0 0 X
0 X X 0 0 X X 0
0 0 0 0 0 0 0 0
Level 31:
Keep Pressing the cloud and turn the phone around. Press the picture of sun.
Level 32:
Drive the nail in, Select the colours in the correct order, press the android silhouette. Press win and arrow 5 times. Press the spoon to bend it. Go back to Level 17, Remove the cover from the bottom left corner, Move the hammer and press the treasure chest.
Level 33:
Click red to select it. press the first button on the clown.
Click yellow to select it. press the second button on the clown.
Click green to select it. press the third button on the clown.
Level 35:
Answer "m".
Level 36:
Keep turning the phone to stop the sand from filling one side. press the numbers from 1 to 12.
Level 37:
Catch the 37th key and insert it into the lock to open it.
Level 38:
Solution -

Level 39:
Run your hand on the right side of the vertical road from the bottom to the junction and wait. When the stop signal is gone, turn right.
Level 40:
Use the grey circle as the joystick. Find 3 cherries. Don't get hit by the monsters.
Level 41:
Go to Level 35. Answer "Level 1". Remove the cover from the bottom right corner of the screen. Turn the device upside down. Press "Press here to move on".
Level 42:
Press the Giraffe's head (The one at the top).
Rearrange the picture so that it looks like this-

PS - Level 34 uses military time.